· 7 min read
Using Dapper with FluentMigrator
In this post, we will explore how to use Dapper with FluentMigrator for schema migrations in ASP.NET Core. We will set up a simple project, and use FluentMigrator to manage the schema migrations in code and run them during the application startup.

Dapper, in simple terms, is a micro-ORM (Object-Relational Mapping) library for .NET. It is a high-performance data access library that allows you to execute raw SQL queries and map the results to .NET objects. Dapper is built by the folks at Stack Overflow and is a popular choice for data access in .NET, alongside Entity Framework Core.
A typical Dapper query looks like this:
var books = connection.Query<Book>("SELECT * FROM Books");
In this query, connection is an typical instance of IDbConnection that is provided by the ADO.NET provider. The Query method is an extension method provided by Dapper that executes the SQL query and maps the results to a collection of Book objects. At its core, Dapper is just a set of extension methods on the IDbConnection interface.
If you are used to Entity Framework Core, you might be wondering how to handle schema migrations with Dapper. Entity Framework Core has built-in support for schema migrations using the DbContext class. But Dapper doesn’t provide such features out of the box. Thankfully, there are bunch of libraries available in the .NET ecosystem that can help you with schema migrations when using Dapper such as FluentMigrator, DbUp, etc.
In this post, we will explore how to use Dapper with FluentMigrator for schema migrations in ASP.NET Core. We will set up the project first, create the database, write the repository and controller classes, and finally integrate FluentMigrator to manage the schema migrations in code and run them during the application startup.
Premise
Let’s consider a simple scenario where we have a Book table in the database with the following schema:
CREATE TABLE Book
(
    Id INT PRIMARY KEY,
    Title NVARCHAR(100),
    Author NVARCHAR(100),
    Pages INT
);
Besides, we need an API to perform CRUD operations on the Book table. We will use Dapper to interact with the database and FluentMigrator to manage the schema migrations.
Setting up the Project
Create a new ASP.NET Core project using the following command:
dotnet new web -n LibraryApi
Add the required NuGet packages to the project:
dotnet add package System.Data.SqlClient
dotnet add package Dapper
Note: We are using SQL Server for this post. If you are using a different database, you can install the corresponding ADO.NET provider package. For example, for MySQL, you can install the
MySql.Datapackage or for PostgreSQL, you can install theNpgsqlpackage.
Creating the Database
For this post, we’ll use an SQL Server LocalDB instance. Create a new database called Library using the following SQL script:
CREATE DATABASE Library;
With the database in place, we can setup connection string in the appsettings.json file:
{
  "ConnectionStrings": {
    "DefaultConnection": "Server=(localdb)\\mssqllocaldb;Database=Library;Trusted_Connection=True;"
  }
}
Now let’s add a service registration for the database connection in the Program.cs file:
var builder = WebApplication.CreateBuilder(args);
...
// Register the IDbConnection
builder.Services.AddScoped<IDbConnection>(_ => new SqlConnection(builder.Configuration.GetConnectionString("DefaultConnection")));
...
var app = builder.Build();
Writing the repository
Create a new class called Book.cs in the project:
public class Book
{
    public int Id { get; set; }
    public string Title { get; set; }
    public string Author { get; set; }
    public int Pages { get; set; }
}
Now, create a new folder called Repositories in the project and add a new class called BookRepository.cs:
public class BookRepository(IDbConnection connection)
{
    public IEnumerable<Book> GetBooks()
    {
        return connection.Query<Book>("SELECT * FROM Books");
    }

    public Book GetBook(int id)
    {
        return connection.QueryFirstOrDefault<Book>("SELECT * FROM Books WHERE Id = @Id", new { Id = id });
    }

    public void AddBook(Book book)
    {
        connection.Execute("INSERT INTO Books (Id, Title, Author, Pages) VALUES (@Id, @Title, @Author, @Pages)", book);
    }

    public void UpdateBook(Book book)
    {
        connection.Execute("UPDATE Books SET Title = @Title, Author = @Author, Pages = @Pages WHERE Id = @Id", book);
    }

    public void DeleteBook(int id)
    {
        connection.Execute("DELETE FROM Books WHERE Id = @Id", new { Id = id });
    }
}
Note: We are sticking with synchronous methods for simplicity. You can use asynchronous methods such as
QueryAsync,ExecuteAsync, etc., for better performance. See the Dapper documentation for more information.
Register the BookRepository class in the Program.cs file:
builder.Services.AddScoped<BookRepository>();
Writing the Controller
Create a new folder called Controllers in the project and add a new class called BooksController.cs:
[ApiController]
[Route("api/books")]
public class BooksController(BookRepository repository) : ControllerBase
{
    [HttpGet]
    public IEnumerable<Book> Get()
    {
        return repository.GetBooks();
    }

    [HttpGet("{id}")]
    public Book Get(int id)
    {
        return repository.GetBook(id);
    }

    [HttpPost]
    public void Post([FromBody] Book book)
    {
        repository.AddBook(book);
    }

    [HttpPut]
    public void Put([FromBody] Book book)
    {
        repository.UpdateBook(book);
    }

    [HttpDelete("{id}")]
    public void Delete(int id)
    {
        repository.DeleteBook(id);
    }
}
Ensure you have configured services and middleware for Controllers in the Program.cs file:
var builder = WebApplication.CreateBuilder(args);
...
builder.Services.AddControllers(); // Add this line
...
var app = builder.Build();
...
app.UseRouting(); // Add this line
app.MapControllers(); // Add this line
...
app.Run();
So far, we have set up the project, created the database, and written the repository and controller classes. But the database is currently empty. Instead of manually creating the Book table, we can use FluentMigrator to manage the schema migrations in code and run them during the application startup.
Setting up FluentMigrator
Add the required NuGet packages to the project:
dotnet add package FluentMigrator
dotnet add package FluentMigrator.Runner.Core
dotnet add package FluentMigrator.Runner.SqlServer
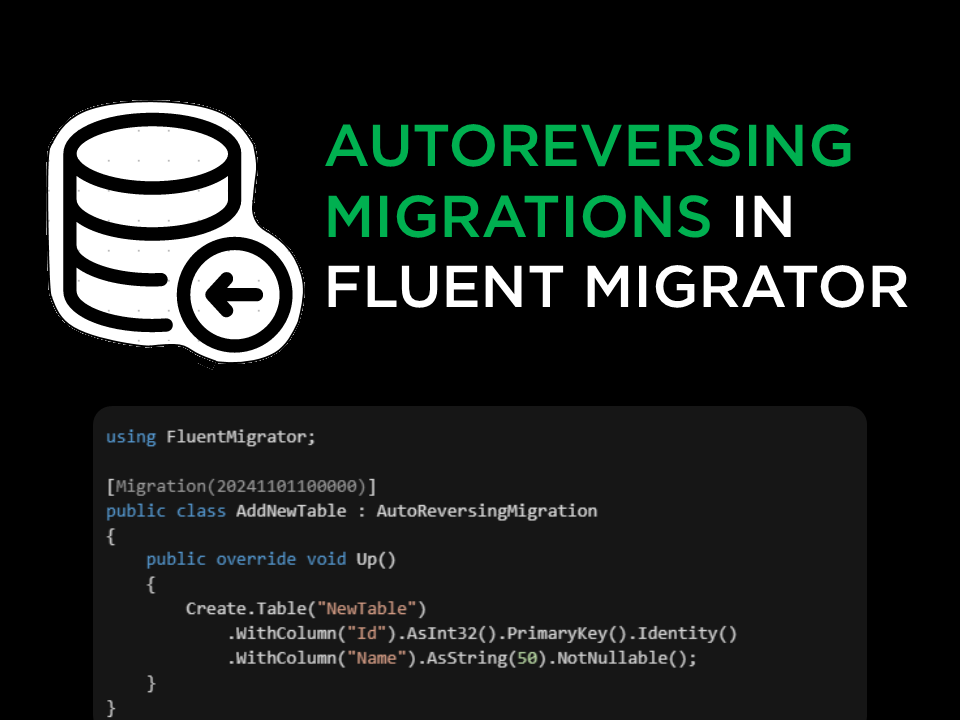
Create a new folder called Migrations in the project and add a new class called CreateBookTable.cs:
[Migration(1)]
public class CreateBookTable : Migration
{
    public override void Up()
    {
        Create.Table("Books")
            .WithColumn("Id").AsInt32().PrimaryKey()
            .WithColumn("Title").AsString(100)
            .WithColumn("Author").AsString(100)
            .WithColumn("Pages").AsInt32();
    }

    public override void Down()
    {
        Delete.Table("Books");
    }
}
Now, we need to configure FluentMigrator runner in order to run the migrations during the application startup. Register the FluentMigrator runner in the Program.cs file:
builder.Services.AddFluentMigratorCore()
    .ConfigureRunner(rb => rb
        .AddSqlServer()
        .WithGlobalConnectionString(builder.Configuration.GetConnectionString("DefaultConnection"))
        .ScanIn(typeof(CreateBookTable).Assembly).For.Migrations());
Finally, run the migrations during the application startup:
using var scope = app.Services.CreateScope();
var runner = scope.ServiceProvider.GetRequiredService<IMigrationRunner>();
runner.MigrateUp();
Now your Program.cs file should look like this:
var builder = WebApplication.CreateBuilder(args);

builder.Services.AddScoped<IDbConnection>(_ => new SqlConnection(builder.Configuration.GetConnectionString("DefaultConnection")));
builder.Services.AddScoped<BookRepository>();
builder.Services.AddControllers();
builder.Services.AddFluentMigratorCore()
    .ConfigureRunner(rb => rb
        .AddSqlServer()
        .WithGlobalConnectionString(builder.Configuration.GetConnectionString("DefaultConnection"))
        .ScanIn(typeof(CreateBookTable).Assembly).For.Migrations());

var app = builder.Build();

app.UseRouting();
app.MapControllers();

using var scope = app.Services.CreateScope();
var runner = scope.ServiceProvider.GetRequiredService<IMigrationRunner>();
runner.MigrateUp();

app.Run();
That’s it! Now when you run the application, FluentMigrator will create the Books table in the database during the application startup. You can now interact with the Books table using the API endpoints provided by the BooksController.
Some Notes
FluentMigrator runs the migrations in the order of the migration version number. Ensure that the migration version numbers are unique and in the correct order. In this post, we are starting with version
1for theCreateBookTablemigration. As you add more migrations, increment the version number accordingly. Another approach is to use timestamps as version numbers to avoid conflicts.FluentMigrator won’t run the migrations repeatedly. It maintains a
VersionInfotable in the database to track the migrations that have been run. So, you don’t have to worry about running the migrations multiple times.FluentMigrator also offers a CLI tool to run the migrations from the command line. You can use the CLI tool to run the migrations in your CI/CD pipeline. Refer to the FluentMigrator documentation for more information.
Limitations
- Unlike Entity Framework Core, FluentMigrator doesn’t provide a way to “generate” migrations from the database schema. You have to write the migrations manually. Typically, EF Core migrations are generated based on the changes you make to the
DbContext. But with FluentMigrator, you have to write the migrations in code by hand.
Wrapping Up
In this post, we explored how to use Dapper with FluentMigrator for schema migrations in .NET applications. We set up the project, created the database, and wrote the repository and controller classes. We also used FluentMigrator to manage the schema migrations in code and run them during the application startup.


