· 6 min read
Getting Started with Jupyter
Jupyter is an interactive development environment that allows you to create and share computational notebooks. It is a popular tool for data science and machine learning. In this post, I will be exploring Jupyter Lab and creating my first notebook.
Introduction
It has been a while since I have written a blog post. Since I am more into Web Development and DevOps, I decided to try out something new. Data Science and Machine Learning is something that I never ventured into, apart from studying theory through my academic subjects. So I decided to write a series of blog posts on my journey into AI and ML. I am quite fascinated with neural networks, which you might see in the future posts. In this post, I’ll be exploring Jupyter Lab and creating my first notebook.
What is Jupyter?
Jupyter is an interactive development environment that allows you to create and share computational notebooks. It is a popular tool for data science and machine learning. It is an open-source project that supports over 100 programming languages. It is used by data scientists, researchers, and developers to create and share their work.
Setting up Jupyter
The most popular way to install Jupyter is through Anaconda. It is a free and open-source distribution of Python and R programming languages for scientific computing. It comes bundled with a bunch of so many other tools and libraries, including Jupyter Lab.
While this is the most popular way to install Jupyter, I found that the official documentation for Jupyter has a much more simple solution: Through pip and use standard Python distribution. Since I am just getting started, I believe I am not going face any Anaconda-only dependencies. So I decided to go with the pip method.
First, I didn’t have any Python installed in my system initially. So I installed Python 3.12.1 from the official website. Then I installed Jupyter Lab with pip, using the following command.
pip install jupyterlab
A Bit of History
Jupyter Notebook is a successor of IPython, which was an interactive shell for Python. In 2014, IPython was split into three projects: IPython, Jupyter Notebook, and Jupyter Lab. IPython is now the name of the Python backend, whereas Jupyter Notebook is the web-based frontend that allows you to create and share notebooks. Jupyter Lab can be said as an improved version of Jupyter Notebook with a lot of new features.
One of the main differences between Jupyter Notebook and Jupyter Lab is that Jupyter Notebook is a single document interface, whereas Jupyter Lab is a multiple document interface. This means that you can open multiple notebooks in Jupyter Lab, whereas you can only open one notebook at a time in Jupyter Notebook.
If you want just the classic Jupyter Notebook interface, you can install it using the following command.
pip install notebook
Getting Started
To invoke Jupyter Lab, one must navigate to the folder where you want to create the notebook and run the following command.
jupyter lab
This will open up a browser window with the Jupyter Lab interface at http://localhost:8888/lab. Perfect!
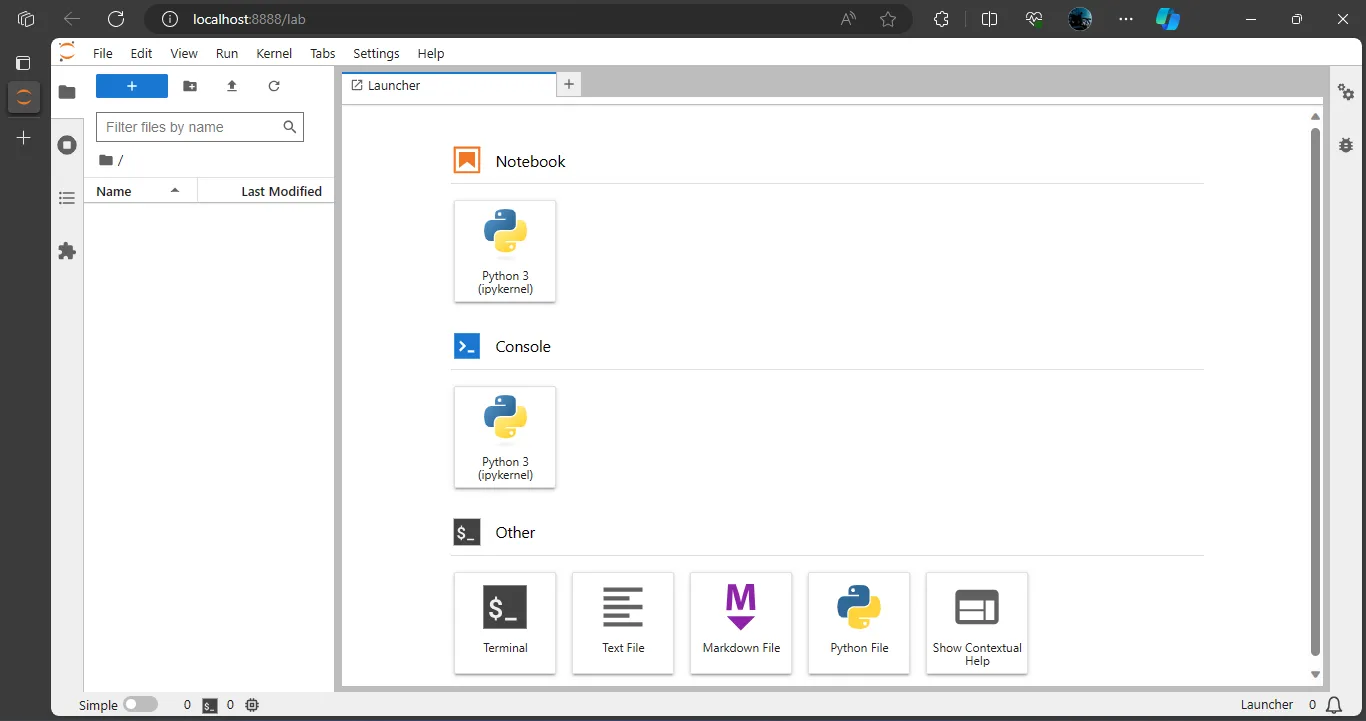
Creating a Notebook
There are multiple ways to create a new notebook. You can either click on the + icon on the top left corner of the interface or click on the File menu and select New Notebook. You can also create a new notebook by clicking on the Python 3 icon on the Launcher tab.
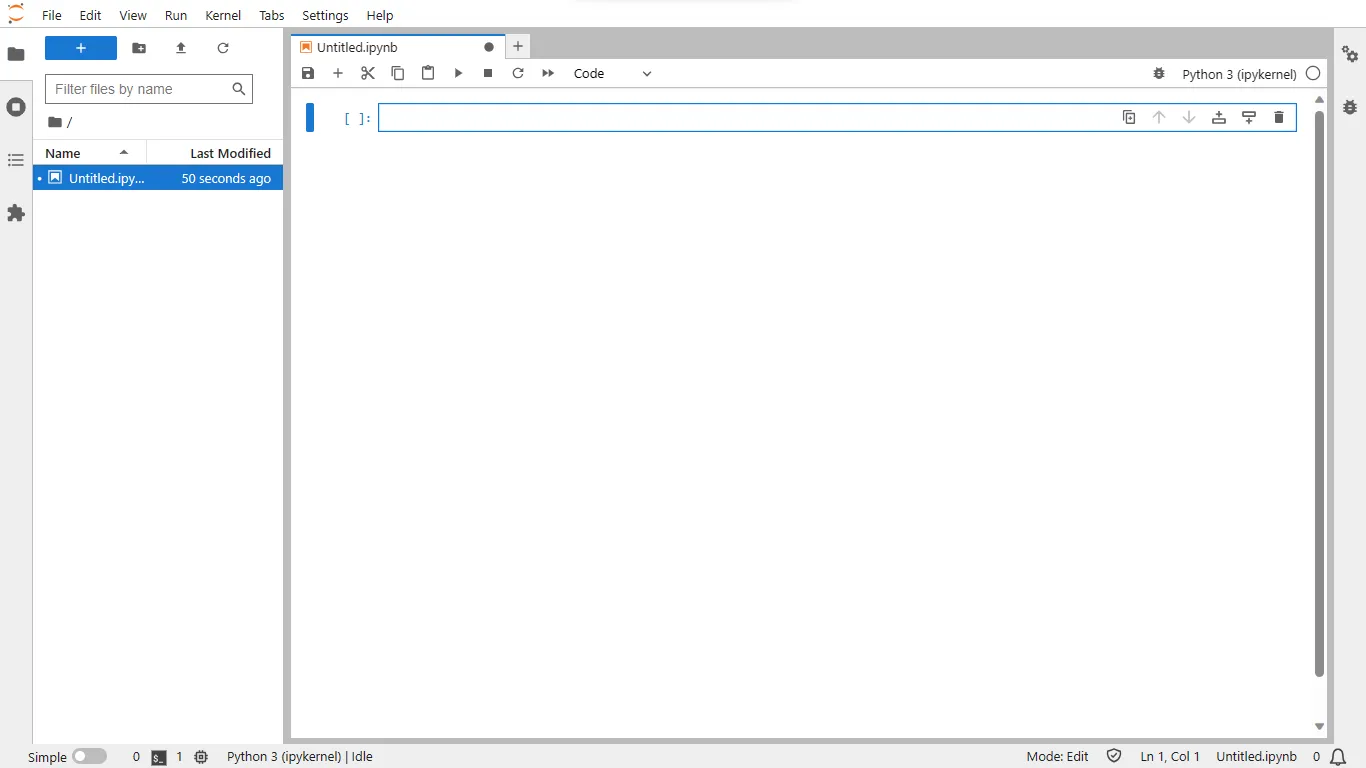
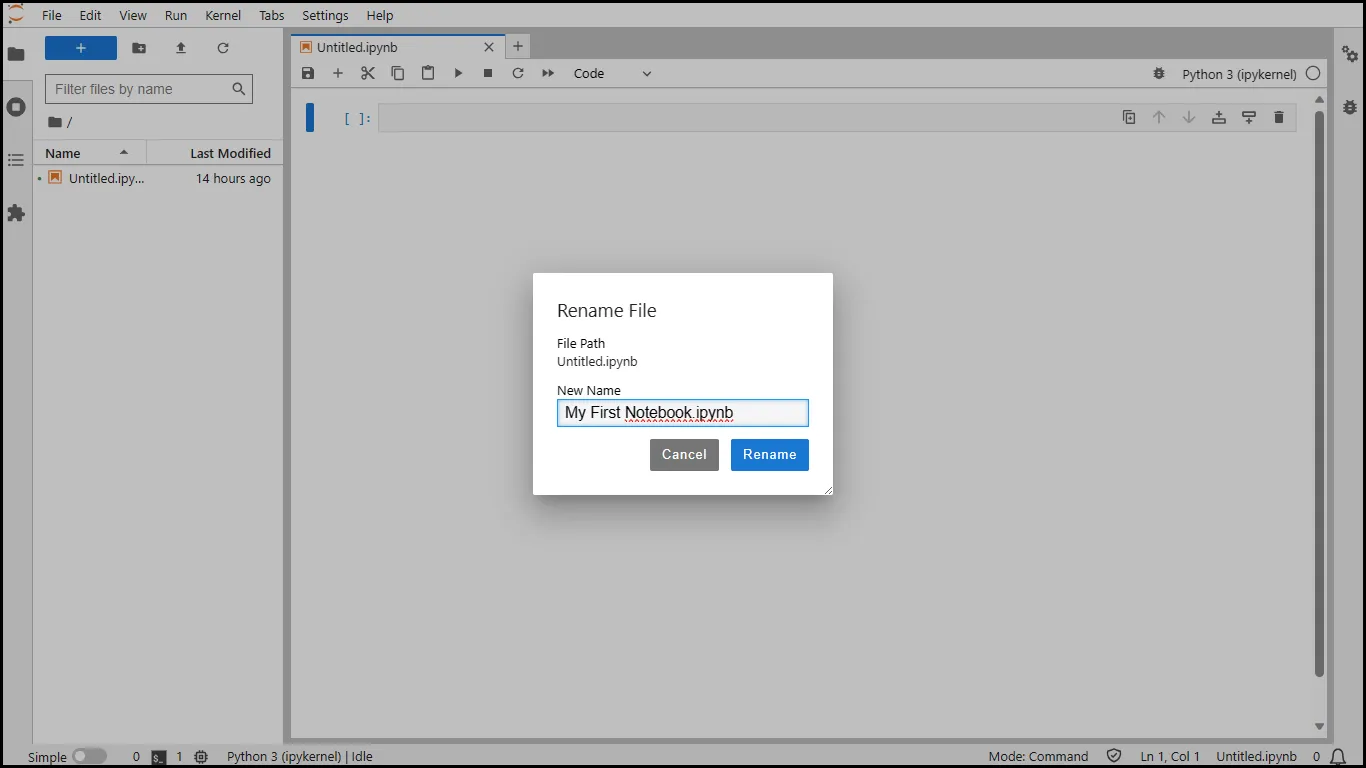
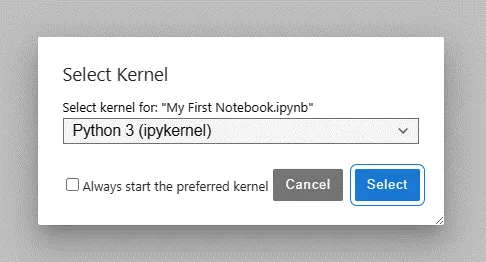
This will open up a new notebook with the name Untitled.ipynb. You can rename the notebook by right-clicking on the name and selecting Rename Notebook. I am going to name it My First Notebook.ipynb.
Running a Notebook
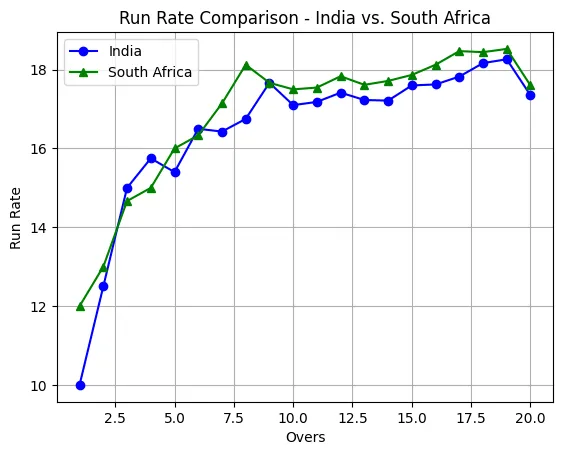
I am interested in doing a python program for a run-rate comparison between India and South Africa in a cricket match. For this, I need to import the numpy and matplotlib libraries. I can do this by running the following code in a cell.
# Import libraries
import numpy as np
import matplotlib.pyplot as plt
A notebook is a collection of cells. Each cell can contain code, text, or images. You can run a cell by clicking on the Run button on the top left corner of the cell. You can also run a cell by pressing Shift + Enter on your keyboard. This will run the code in the cell and move the focus to the next cell. You can also run a cell and stay in the same cell by pressing Ctrl + Enter on your keyboard.
Fast-forwarding a bit, I have created a notebook with the following code.
# Import libraries
import numpy as np
import matplotlib.pyplot as plt

# Define lists of runs scored in each over for 20 overs
india_runs = np.array([10, 15, 20, 18, 14, 22, 16, 19, 25, 12, 18, 20, 15, 17, 23, 18, 21, 24, 20])
south_africa_runs = np.array([12, 14, 18, 16, 20, 18, 22, 25, 14, 16, 18, 21, 15, 19, 20, 22, 24, 18, 20])

# Define over numbers
overs = np.arange(1, 21)

# Calculate run-rate for each over
india_run_rate = [sum(india_runs[:i]) / i for i in np.arange(1, 21)]
south_africa_run_rate = [sum(south_africa_runs[:i]) / i for i in np.arange(1, 21)]

# Create a plot using matplotlib
plt.figure(figsize=(10, 6))

# Plot run-rate for India
plt.plot(overs, india_run_rate, label="India", marker='o', linestyle='-', color='blue')

# Plot run-rate for South Africa
plt.plot(overs, south_africa_run_rate, label="South Africa", marker='^', linestyle='-', color='green')

# Add labels, title and legend
plt.xlabel("Overs")
plt.ylabel("Run Rate")
plt.title("Run Rate Comparison - India vs. South Africa")
plt.legend()

# Show the plot
plt.grid(True)
plt.show()
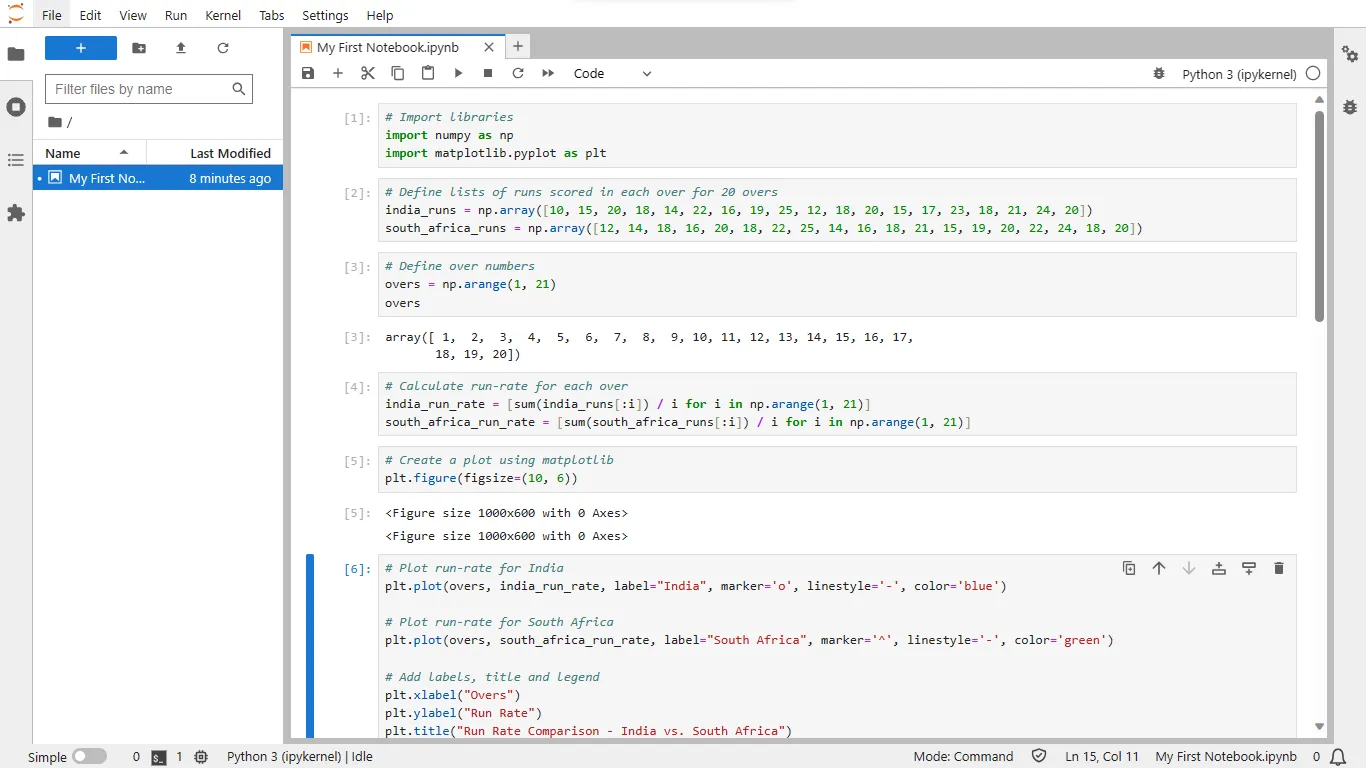
The notebook is quite self-explanatory. I have created two lists of runs scored by India and South Africa in each over. Then I have calculated the run-rate for each over and plotted it using matplotlib. I have also added labels, title, and legend to the plot. Finally, I have displayed the plot using plt.show().
Kernels
Usually, a notebook is connected to something called “Kernel”. A kernel is a computational engine that executes the code contained in the notebook. Here, the kernel is Python 3, meaning that the code in the notebook will be executed by our standard Python 3 installation.
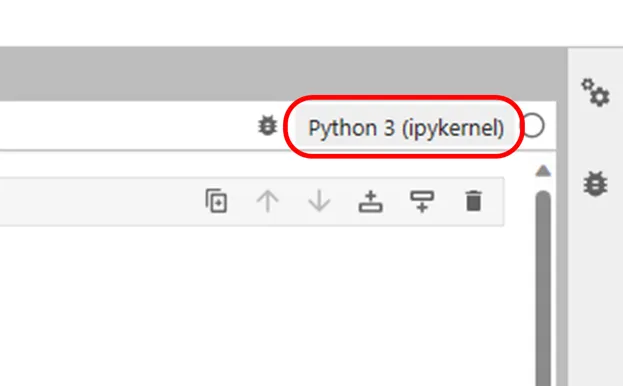
You can change the kernel by clicking on the Python 3 dropdown on the top right corner of the notebook. You can also change the kernel by clicking on the Kernel menu and selecting Change Kernel, which is pretty much not needed for now.
Conclusion
In this post, I explored Jupyter Lab and created my first notebook. Jupyter Lab is quite versatile and intuitive as I can see the outputs at each step of the code. This is especially useful to understand the code and debug it. With this, I now feel ready to dip into the next topic of neural networks in the coming post. Let’s see how it goes. Until then, happy coding!