· 9 min read
Building my first Neural Networks with PyTorch and TensorFlow
PyTorch and TensorFlow are currently the two most popular deep learning frameworks for developing and training neural networks. In this post, I will build two simple neural networks for predicting diabetes, each using PyTorch and TensorFlow, and share my first-hand experiences.
Introduction
In my last post, I had explored Jupyter Lab as beginning of my journey into practical AI and ML. I had also stated that I am quite fascinated with neural networks in general. Although I have studied a lot of theory about neural networks as part of my academic subjects (I am a Computer Science student), I have no first-hand experience in building one. As far as I know, currently, the two most popular frameworks for building neural networks are PyTorch and TensorFlow. So in this post, I will be designing and training my first networks for predicting diabetes, each using PyTorch and TensorFlow. I will also be comparing the results of both the neural networks and exploring the differences between the two frameworks from a beginner’s perspective.
Premise
I will be using the Pima Indians Diabetes Database from Kaggle for building the neural networks. It is a dataset that contains information about the Pima Indians, a group of Native Americans in Arizona. The dataset contains 767 rows and 9 columns. The columns are as follows:
- Pregnancies: Number of times pregnant
- Glucose: Plasma glucose concentration a 2 hours in an oral glucose tolerance test
- BloodPressure: Diastolic blood pressure (mm Hg)
- SkinThickness: Triceps skin fold thickness (mm)
- Insulin: 2-Hour serum insulin (mu U/ml)
- BMI: Body mass index (weight in kg/(height in m)^2)
- DiabetesPedigreeFunction: Diabetes pedigree function
- Age: Age (years)
- Outcome: Class variable (0 or 1) 268 of 767 are 1, the others are 0
Prerequisites
I had installed Python 3.12.1 initially, but I found out that TensorFlow doesn’t support Python 3.12 yet (The Python version 3.12 is too new for TensorFlow to support it at the time of writing). So I had to downgrade to Python 3.10.11 (Any version from 3.8 to 3.11 should be fine. Just that I chose 3.10 to find a middle ground).
Note that the versions might change from the time of writing. So make sure to check the official documentation for the latest supported versions.
I also installed the following packages using pip:
pip install numpy torch tensorflow
These three packages are enough at the moment. Although I used Jupyter Lab for my last post, I will be using Visual Studio Code after I found out that it has a built-in support for Jupyter Notebooks. If you are using Visual Studio Code, you just need two extensions to get started: Jupyter and Python.
A Bit of Exposition
We are going to build a neural network that will predict whether a person has diabetes or not, based on the Pima Indians Diabetes dataset. This is a binary classification problem, meaning that the output will be either 0 or 1 (whether the person has diabetes or not). I will be using the Pima Indians Diabetes Database for training the neural network.
We will be using the following steps to build our neural network that applies to both PyTorch and TensorFlow in general:
- Load the dataset
- Import the dataset using NumPy
- Load the data into a Tensor (PyTorch) or a NumPy array (TensorFlow)
- Build a Model
- Define the Model Architecture (Number of Layers, Number of Neurons in each Layer, Activation Functions, etc.)
- Define a Loss Function with an Optimizer
- Define a Loss Function (Mean Squared Error, Cross Entropy, etc.). This is used to calculate the error of the model.
- Define an Optimizer (Adam, SGD, etc.). This is used to update the weights of the model by the Gradient Descent algorithm to minimize the error.
- Train the Model
- Train the Model using the training data
- In PyTorch, we have to write a training loop manually.
- Tensorflow has a built-in method that can be used to train the model.
- Evaluate the Model
- Calculate the accuracy of the model using the test data
- Use the Model to make Predictions
- Let’s make some predictions using the model, although for this post, we might be using the same data that we used for training the model.
We are going to have two notebooks, one for PyTorch and one for TensorFlow.
What is PyTorch?
PyTorch is a popular deep learning framework that is used to develop and train neural networks. It is based on the Torch library and is written primarily in Python and C++. It is originally developed by Meta AI and now currently maintained by Linux Foundation. It is used for applications such as computer vision and natural language processing.
What is TensorFlow?
TensorFlow is an another popular deep learning framework that is used to develop and train neural networks. It is developed and maintained by Google. It is written primarily in Python, C++, and CUDA. It is also used for applications such as computer vision and natural language processing, just like PyTorch.
Tensorflow can be used either through its high-level API called Keras or through its low-level API. Keras is a high-level API that is used to build and train neural networks. It is written in Python and is also maintained by Google. Since I am dipping my hands for the first time, I will be using Keras for this post.
Getting Started
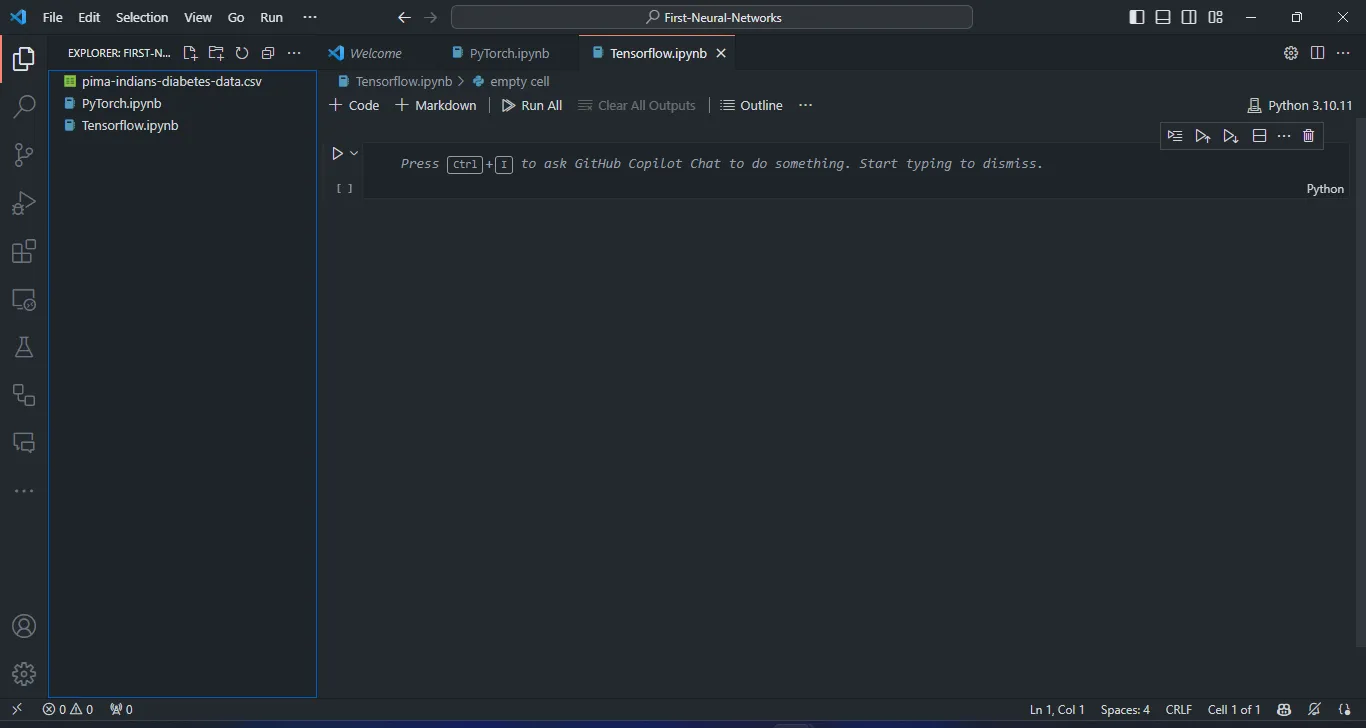
First, open up Visual Studio Code in a new folder. Then create two files with filenames PyTorch.ipynb and Tensorflow.ipynb. These are the two notebooks that we will be using for our PyTorch and TensorFlow neural networks respectively. Also place the pima-indians-diabetes-data.csv file that we downloaded from Kaggle in the same folder. This is the dataset that we will be using for training our neural networks.
Creating a Neural Network with PyTorch
First, we will create a neural network using PyTorch. We will use the following steps to build our neural network:
- Load the PyTorch modules
import numpy as np
import torch
import torch.nn as nn
import torch.optim as optim
- Import the dataset using NumPy’s
loadtxt()method
dataset = np.loadtxt('pima-indians-diabetes-data.csv', delimiter=',')
X = dataset[:,0:8]
Y = dataset[:,8]
- Load the data from NumPy arrays into a PyTorch Tensors
X = torch.tensor(X, dtype=torch.float32)
Y = torch.tensor(Y, dtype=torch.float32).reshape(-1, 1)
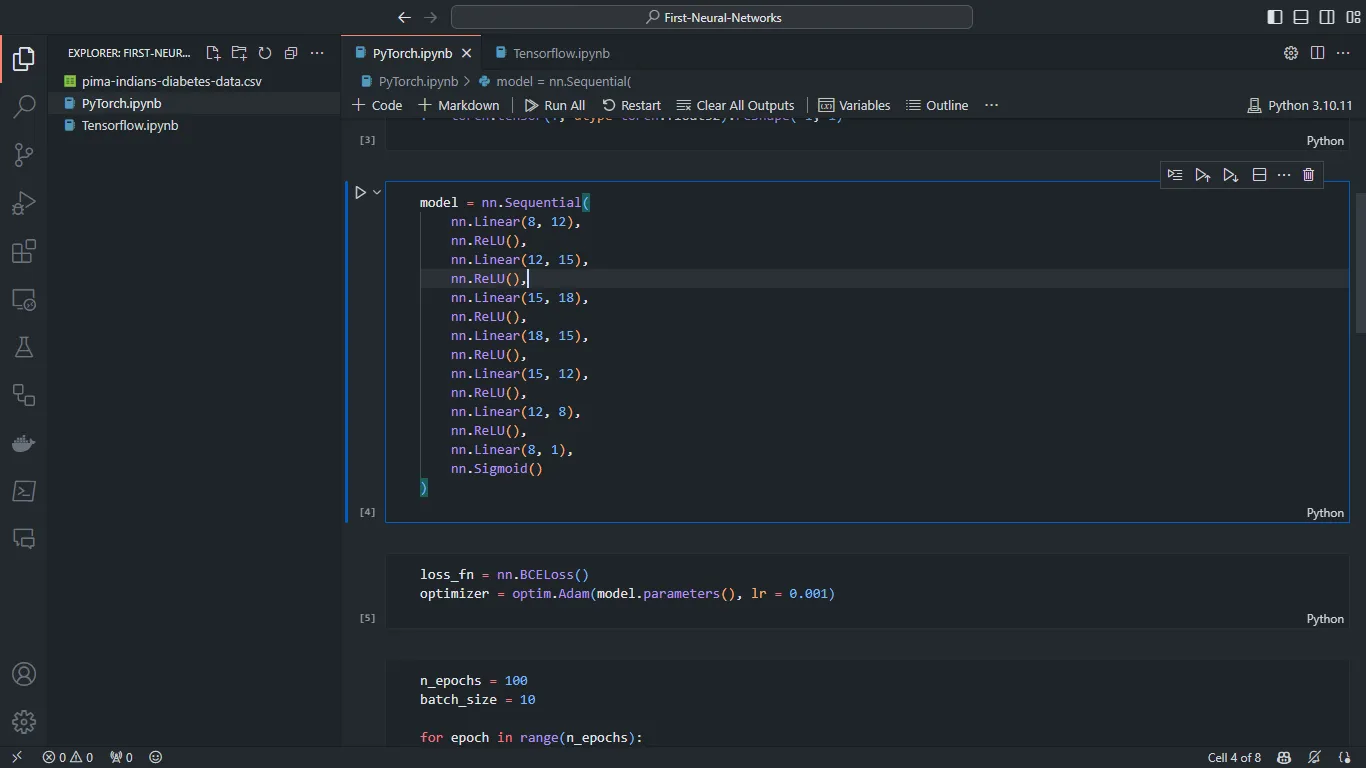
- Build a Model with a Sequential API
model = nn.Sequential(
    nn.Linear(8, 12),
    nn.ReLU(),
    nn.Linear(12, 15),
    nn.ReLU(),
    nn.Linear(15, 18),
    nn.ReLU(),
    nn.Linear(18, 15),
    nn.ReLU(),
    nn.Linear(15, 12),
    nn.ReLU(),
    nn.Linear(12, 8),
    nn.ReLU(),
    nn.Linear(8, 1),
    nn.Sigmoid()
)
I know most people will be taken aback a bit at use of the
nn.Sequentialmodule. The officially recommended approach to build a model is to create a separate class that inheritsnn.Module. But I am not so comfortable with classes in Python yet at the time of writing, and besides, thenn.Sequentialmodule does the job for me now.
- Define a Loss Function with an Optimizer
loss_fn = nn.BCELoss()
optimizer = optim.Adam(model.parameters(), lr = 0.001)
- Train the Model
n_epochs = 100
batch_size = 10

for epoch in range(n_epochs):
  for i in range(0, len(X), batch_size):
    X_batch = X[i: i + batch_size]
    Y_pred = model(X_batch)
    Y_actual = Y[i: i + batch_size]
    loss = loss_fn(Y_pred, Y_actual)
    optimizer.zero_grad()
    loss.backward()
    optimizer.step()
  print(f'Finished epoch {epoch}/{n_epochs}, latest loss {loss}')
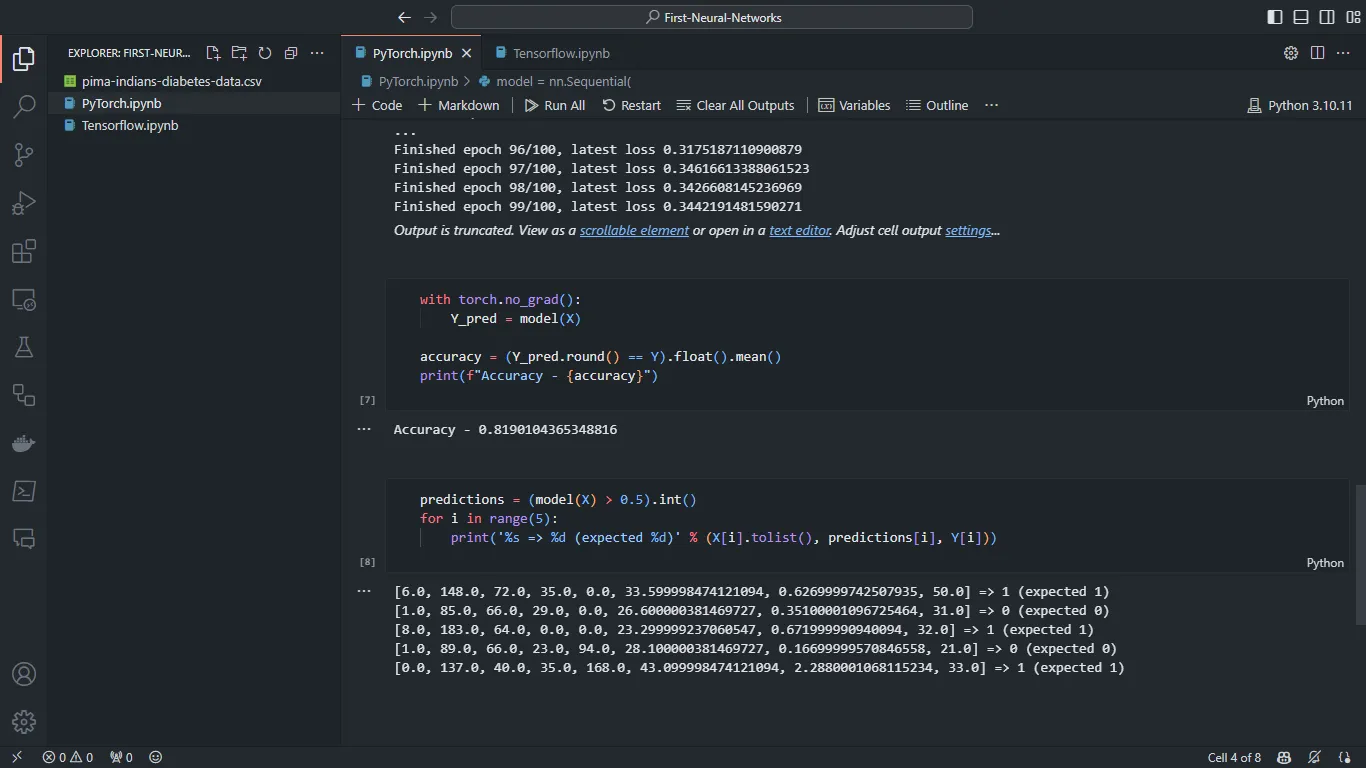
- Evaluate the Model
with torch.no_grad():
    Y_pred = model(X)

accuracy = (Y_pred.round() == Y).float().mean()
print(f"Accuracy - {accuracy}")
- Use the Model to make Predictions
predictions = (model(X) > 0.5).int()
for i in range(5):
    print('%s => %d (expected %d)' % (X[i].tolist(), predictions[i], Y[i]))
Running the above code builds a neural network with 8 input neurons, 1 output neuron, and 6 hidden layers with 12, 15, 18, 15, 12, and 8 neurons respectively. The hidden layers use the ReLU activation function and the output layer uses the Sigmoid activation function. The neural network is trained for 100 epochs with a batch size of 10. The accuracy of the neural network is around 82%.
Creating a Neural Network with TensorFlow
Next, we will be creating a neural network using Keras, the high-level API of TensorFlow. We will be using the following steps to build our neural network:
- Load the Keras modules
import numpy as np
from keras.models import Sequential
from keras.layers import Dense, Input
- Import the dataset using NumPy’s
loadtxt()method
dataset = np.loadtxt('pima-indians-diabetes-data.csv', delimiter=',')
X = dataset[:,0:8]
Y = dataset[:,8]
- Build a Model with a Sequential API and add Layers to it
model = Sequential()
model.add(Input(shape=(8,)))
model.add(Dense(12, activation='relu'))
model.add(Dense(15, activation='relu'))
model.add(Dense(18, activation='relu'))
model.add(Dense(15, activation='relu'))
model.add(Dense(12, activation='relu'))
model.add(Dense(8, activation='relu'))
model.add(Dense(1, activation='sigmoid'))
- Compile the Model with a Loss Function and an Optimizer
model.compile(loss='binary_crossentropy', optimizer='adam', metrics=['accuracy'])
- Train the Model using the
fit()method
model.fit(X, Y, epochs=100, batch_size=10)
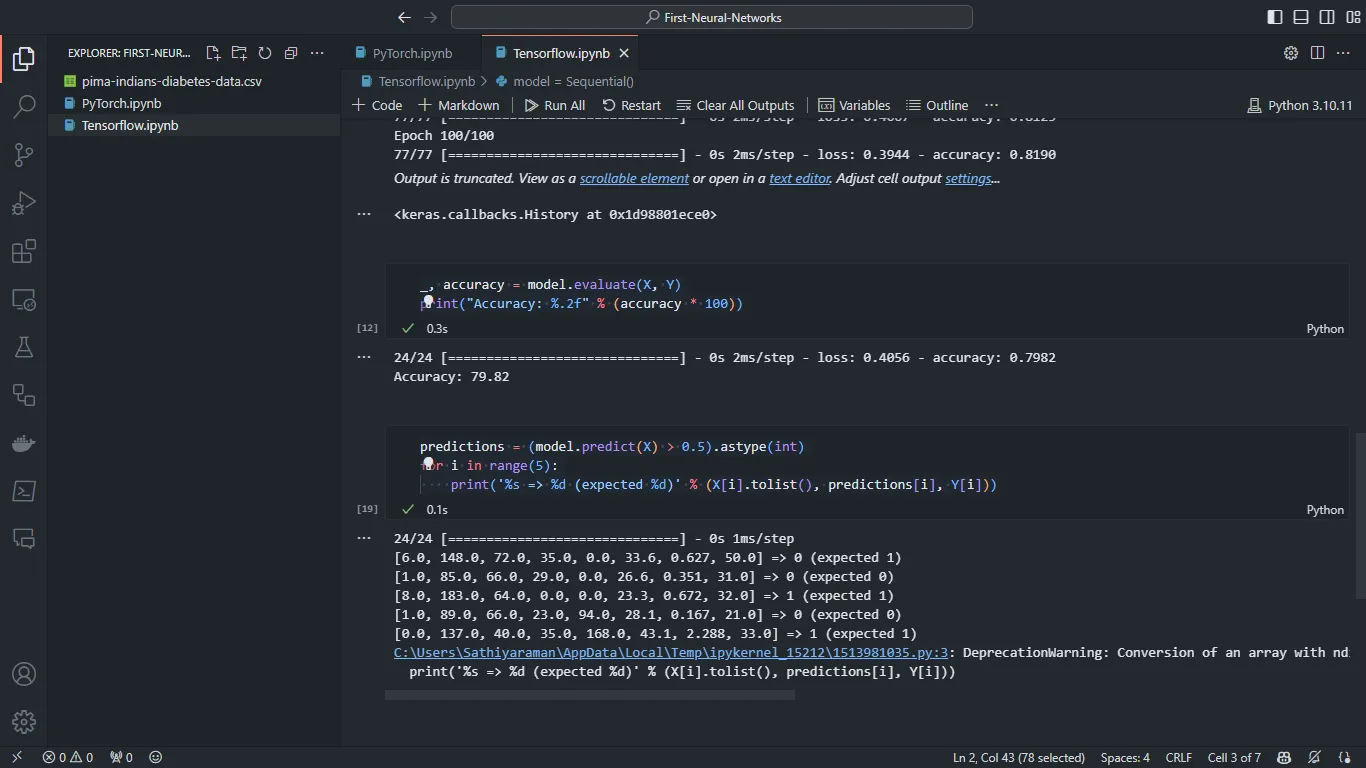
- Evaluate the Model Accuracy
_, accuracy = model.evaluate(X, Y)
print("Accuracy: %.2f" % (accuracy * 100))
- Use the Model to make Predictions and print the results
predictions = (model.predict(X) > 0.5).astype(int)
for i in range(5):
    print('%s => %d (expected %d)' % (X[i].tolist(), predictions[i], Y[i]))
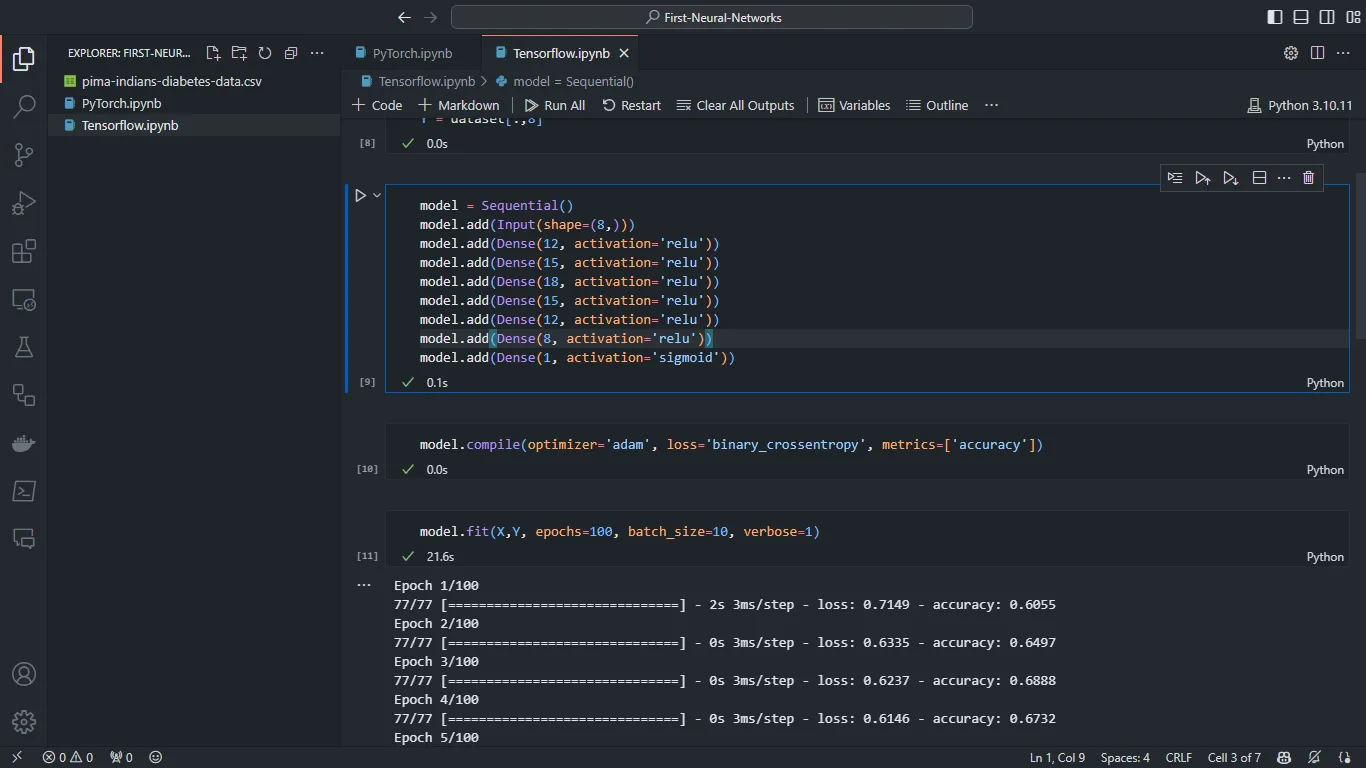
The above code is almost same as the PyTorch code and builds a similar neural network with exact same specifications. It also runs for 100 epochs with a batch size of 10.
Comparing the Results
- The accuracy of the PyTorch neural network is around 82%.
- The accuracy of the TensorFlow neural network is around 80%.
Just 2 percent difference, although I feel it is inconsequential in the long run. Besides, I believe that there is a lot of room for improvements in both the neural networks, to bring their accuracy above 90-95%. But the point of this post is to learn building a neural network first. So I might be coming back to these neural networks later for optimizations later and going to leave them just for now.
Differences in the Frameworks
The PyTorch code is little bit more verbose than the Keras code. If I use
nn.Moduleinstead ofnn.Sequential, the PyTorch code will be even more verbose.In PyTorch I had to load the data into a PyTorch Tensor from a NumPy array. In TensorFlow, I could just use the NumPy array directly in the model.
In PyTorch, I had to write a custom training loop. In TensorFlow, I just had to call the
fitmethod on the model.In PyTorch, I had to calculate the accuracy of the model manually. In TensorFlow, I had to add the
metricsparameter to thecompilemethod, which automatically calculates the list of metrics that I had specified (in this case, the"accuracy").
Conclusion
I had a lot of fun building my first neural networks with PyTorch and TensorFlow. I have to admit that all the theory that I had studied about Neural Networks are just now making sense. I am also quite fascinated with the fact that I can build a neural network with just a few lines of code, without reinventing the wheel and writing from scratch. The Frameworks are really performant and seems pretty much equivalent to each other.
Most important thing to note as a beginner is that the challenge in building a neural network is not about writing the code, it is about tuning the hyperparameters and designing the architecture of the neural network. With that said, I am going to end this post here. Until next time, Happy Hackin’!