· 6 min read
Built-in Container Support in .NET
.NET 7 introduced built-in container support for .NET applications. This feature allows you to build and run .NET applications even without Dockerfile.
Introduction
Earlier, in our Docker Beginner Series, we have seen how to use Dockerfile to build and run container images. Similarly, we can use Dockerfile to build and run .NET applications as container images. But, with .NET 7, Container images are now a supported publish target.
In .NET 7, we have built-in container support for .NET applications, that allows you to build and run .NET applications even without Dockerfile. In this article, we will see how to build a simple ASP.NET Core Empty project as a container image directly from .NET.
Prerequisites
Create a ASP.NET Core Empty Project
Let’s create a ASP.NET Core Empty project using the following command.
dotnet new web -o BuiltinContainerSupportInDotNet
Build and Run the project
Let’s build and run the project using the following command.
cd .\BuiltinContainerSupportInDotNet\
dotnet run
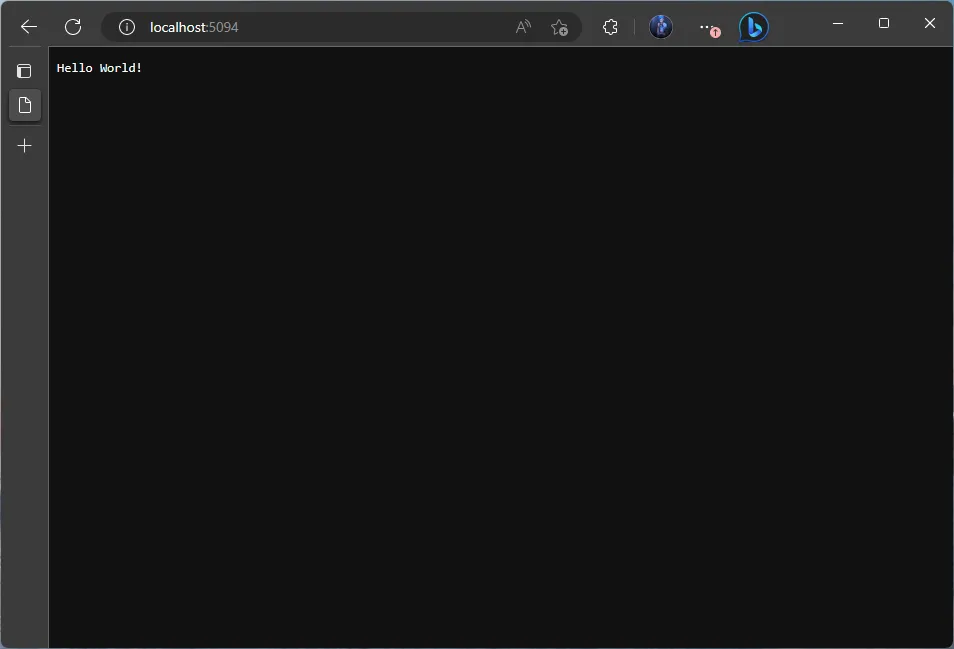
Now, open your browser and see the web application. In my case, the web application is running on port 5094.
Publish the project as Container Image
Usually, we use Dockerfile to build and run .NET applications as container images. But, with .NET 7, we can build and run .NET applications as container images without Dockerfile. Let’s see how to do that.
In .NET 7, this is made possible by the new Microsoft.NET.Build.Containers package. This package is currently a template package as said by Microsoft and it will be included by default in future SDK releases. Till then, we need to install this package manually. Let’s install this package using the following command.
dotnet add package Microsoft.NET.Build.Containers
Now, open the project file and add the following property group to the project file. This property group will instruct the .NET SDK to build the project as a container image, with default settings to build a container image.
<PublishProfile>DefaultContainer</PublishProfile>
Add another property group for runtime identifier. This property group will instruct the .NET SDK to build the project as a container image for Linux.
<RuntimeIdentifier>linux-x64</RuntimeIdentifier>
Let’s add one more property group to the project file. This property group will instruct the .NET SDK to build the project as a container image with the specified name.
<ContainerImageName>BuiltinContainerSupportInDotNet</ContainerImageName>
Finally, add the following property group to the project file. This property group will instruct the .NET SDK to build the project as a container image with the specified tag.
<ContainerImageTags>latest</ContainerImageTags>
With all these changes, the project file will look like the following.
<Project Sdk="Microsoft.NET.Sdk.Web">
  <PropertyGroup>
    <TargetFramework>net7.0</TargetFramework>
    <Nullable>enable</Nullable>
    <ImplicitUsings>enable</ImplicitUsings>
    <PublishProfile>DefaultContainer</PublishProfile>
    <RuntimeIdentifier>linux-x64</RuntimeIdentifier>
    <ContainerImageName>BuiltinContainerSupportInDotNet</ContainerImageName>
    <ContainerImageTags>latest</ContainerImageTags>
  </PropertyGroup>
  <ItemGroup>
    <PackageReference Include="Microsoft.NET.Build.Containers" Version="7.0.302" />
  </ItemGroup>
</Project>
Now, let’s build and run the project as a container image using the following command.
dotnet publish
This would build a container image with the name BuiltinContainerSupportInDotNet and tag latest. It will be pushed to the local Docker registry.
The output would be similar to the following.
MSBuild version 17.5.1+f6fdcf537 for .NET
  Determining projects to restore...
  Restored D:\DockerExamples\builtin-docker-support-dotnet\builtin-docker-support-dotnet.csproj (in 242 ms).
  builtin-docker-support-dotnet -> D:\DockerExamples\builtin-docker-support-dotnet\bin\Debug\net7.0\linux-x64\builtin-docker-support-dotnet.dll
  builtin-docker-support-dotnet -> D:\DockerExamples\builtin-docker-support-dotnet\bin\Debug\net7.0\linux-x64\publish\
  Building image 'builtincontainersupportindotnet' with tags latest on top of base image mcr.microsoft.com:443/dotnet/runtime-deps:7.0
  Pushed container 'builtincontainersupportindotnet:latest' to local daemon
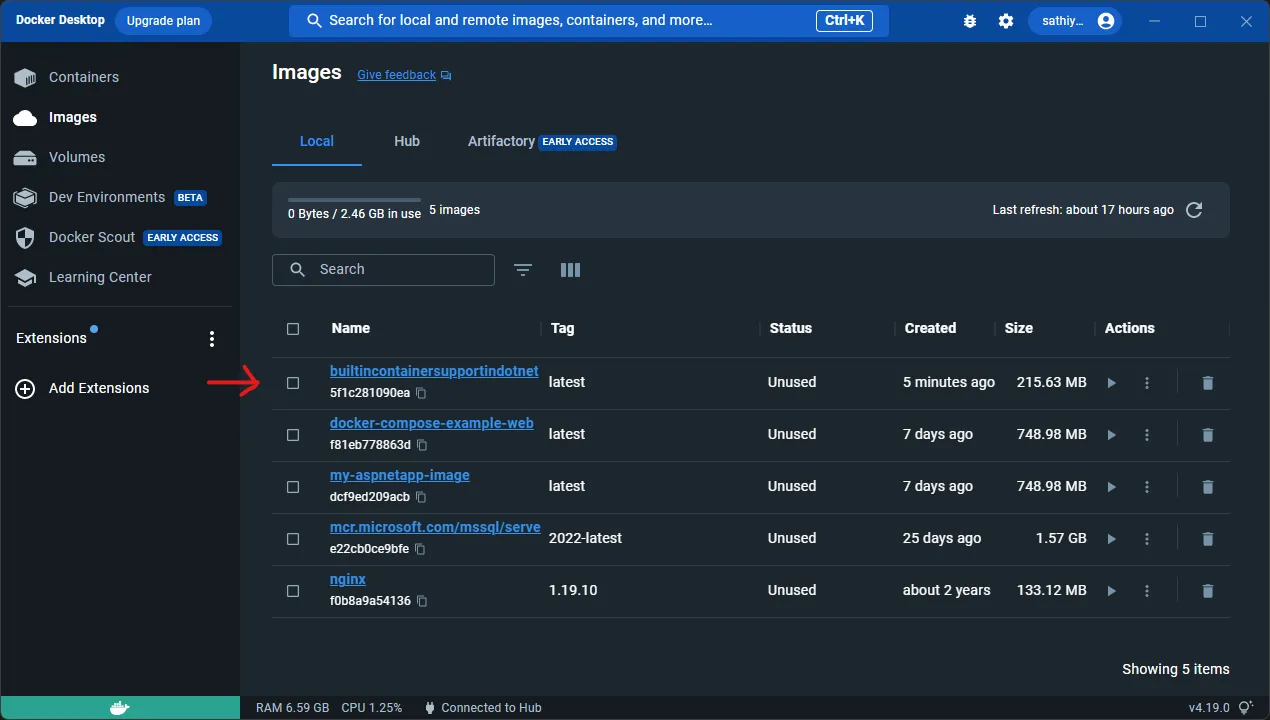
Let’s verify our newly created container image using the following command.
docker images

You can even check it in the Docker Desktop.
Now, let’s run the container image using the following command. Note that we are mapping the application port 80 to the host port 8080 in this example. You could choose any port of your choice.
docker run -d -p 8080:80 --name builtincontainersupportindotnet builtincontainersupportindotnet:latest
Now, open your browser and see the web application. In my case, the web application is running on port 8080.
To view application logs, use the following command.
docker logs builtincontainersupportindotnet
The output would be similar to the following.
info: Microsoft.Hosting.Lifetime[14]
      Now listening on: http://[::]:80
info: Microsoft.Hosting.Lifetime[0]
      Application started. Press Ctrl+C to shut down.
info: Microsoft.Hosting.Lifetime[0]
      Hosting environment: Production
info: Microsoft.Hosting.Lifetime[0]
      Content root path: /app
To stop the container, use the following command.
docker stop builtincontainersupportindotnet
Note that you can rebuild the container image running the dotnet publish command again. This would rebuild the container image and push it to the local Docker registry.
A Sample project is available here in GitHub.
Additional Notes
What If I want to have my own base image?
You can use your own base image instead of the default base image. The Current base image is mcr.microsoft.com/dotnet/runtime-deps:7.0.
The official documentation says the default base image is selected based on following criteria.
- If your project is self-contained, the
mcr.microsoft.com/dotnet/runtime-depsimage is used as the base image. - If your project is an ASP.NET Core project, the
mcr.microsoft.com/dotnet/aspnetimage is used as the base image. - Otherwise the
mcr.microsoft.com/dotnet/runtimeimage is used as the base image.
You can change it by adding the following property group to the project file.
<ContainerBaseImage>mcr.microsoft.com/dotnet/runtime:7.0</ContainerBaseImage>
What If I want to publish the container image to a remote registry?
You can publish the container image directly to a remote registry by adding the following property group to the project file. The following example pushes the container image to GitHub Container Registry.
<ContainerRegistry>ghcr.io</ContainerRegistry>
Note that for your remote registry authentication, you need to use the well-known docker login command. For example, if you are using GitHub Container Registry, you need to use the following command.
docker login ghcr.io --username <your-github-username> --password <your-github-token>
Can I automate the port mapping?
Yes, you can automate the port mapping by adding the following property group to the project file.
<ContainerPort Include="80" Type="tcp" />
Here, the Include property is used to specify the port number and the Type property is used to specify the protocol. The default value of the Type property is tcp, while valid values are tcp and udp. You can specify multiple ports by adding multiple ContainerPort elements.
Can I add environment variables to the container image?
Yes, you can add environment variables to the container image by adding the following property group to the project file.
<ContainerEnvironment Include="ASPNETCORE_ENVIRONMENT" Value="Development" />
Here, the Include property is used to specify the environment variable name and the Value property is used to specify the environment variable value. You can specify multiple environment variables by adding multiple ContainerEnvironment elements.
For more information apart from the article, you can refer to the official documentation here regarding publishing .NET applications as container images.
Conclusion
In this article, we have learned how to build and run .NET applications as container images without Dockerfile.
Containers have made life lot easier in application development and deployment. Updating the production applications is now as simple as building a new container image and deploying it.
Now, with .NET 7, containers have become a supported deployment option for .NET applications, being easy to build an image with dotnet publish command. I hope you have enjoyed this article. Thanks for reading. Cheers!